Introduction
Shader authoring tools help artists and developers control how computer graphics look. They shape light, shadows, reflections, colors, textures, and surface details. These tools also help create special effects such as fire, smoke, water, glass, and glowing objects.
A well-designed shader can change a simple 3D model into a realistic object. It can make metal look shiny, water look clear, and stone look rough. It can also create unusual visual styles for games, films, animations, and interactive displays.
However, shader creation can involve complex code and graphics concepts. Some tools make this work easier through visual nodes. Others provide code editors, debugging tools, and advanced controls. Many also connect directly with popular game engines and 3D applications.
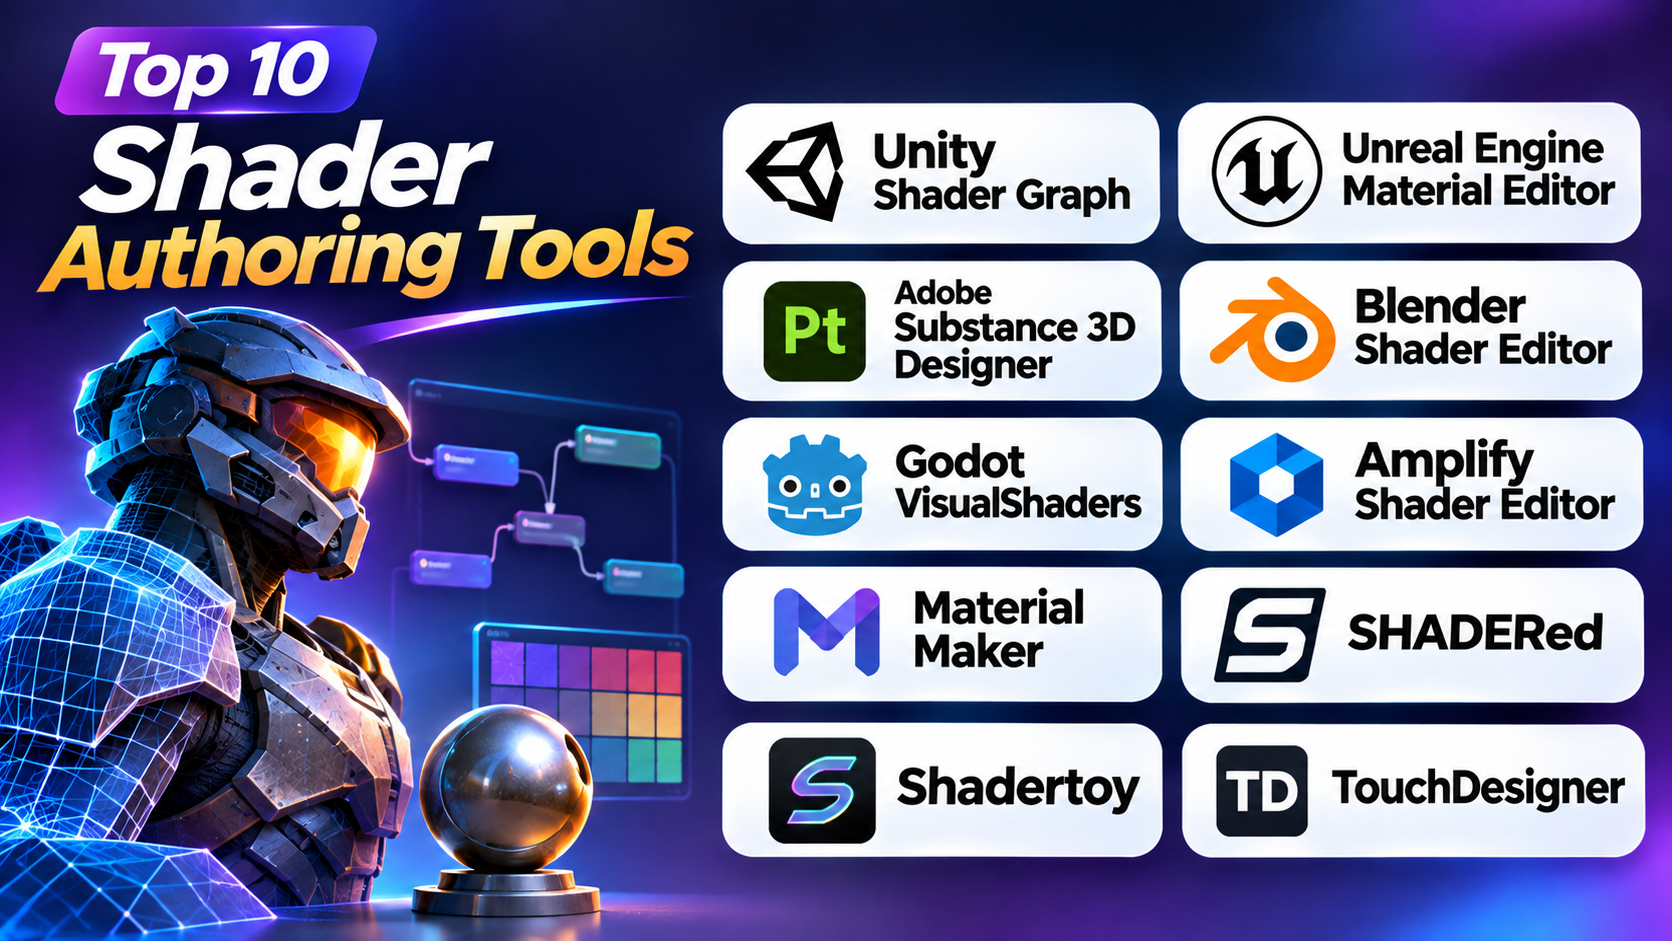
This guide explores 10 useful shader authoring tools. Each tool serves a different type of project and user. You will learn how they work, what makes them useful, and where their limits appear.
Understanding Shader Authoring Tools
A shader is a small program that tells a graphics card how to draw something. It controls how surfaces respond to light and how pixels appear on the screen.
For example, a shader can make a car body look metallic. It can make a glass window appear transparent. It can also create animated water, glowing signs, and moving clouds.
Shader authoring tools give users a way to build these effects. Some tools use visual nodes. Each node performs a task, such as changing color or mixing textures. Users connect the nodes to create the final effect.
Other tools use shader code. Developers write instructions with languages such as GLSL or HLSL. These languages help them control how graphics hardware processes images.
Shader tools usually support several types of work:
- Material creation: Build surfaces for characters, buildings, vehicles, and objects.
- Procedural textures: Generate patterns and surface details through connected rules.
- Lighting effects: Control reflections, highlights, shadows, and light response.
- Visual effects: Create water, fire, smoke, particles, and glowing effects.
- Real-time graphics: Build effects that change while a game or application runs.
- Shader debugging: Find errors and inspect how shader code works.
The best tool depends on your project. Game developers may prefer tools built into their engines. Material artists may need procedural texture software. Graphics programmers may prefer code editors with debugging features.
1. Unity Shader Graph
Unity Shader Graph is a visual shader authoring tool built into the Unity development workflow.
It helps artists and developers create materials without writing every shader instruction by hand. Instead, users connect visual nodes to control how objects appear.
The node system makes shader creation easier to understand. Each node performs a specific task. One node may provide a color. Another may combine two textures. A third may control surface roughness or metallic response.
Users can connect these nodes to create a complete shader. They can also preview the result while they work. This helps them find visual problems before adding the material to a full game scene.
Unity Shader Graph supports the Universal Render Pipeline and High Definition Render Pipeline. These pipelines provide different rendering features and target different project needs. Teams should choose their pipeline early because shader features can vary between them.
The tool also supports custom functions. This gives experienced developers more freedom when visual nodes cannot create a required effect. They can add code and combine it with the visual graph.
Unity Shader Graph works well for many types of game materials. Artists can use it for painted surfaces, glowing objects, animated textures, water effects, and environmental materials. They can also create reusable shader graphs for multiple objects.
Another useful feature is its connection with the Unity Editor. Users can manage materials, scenes, lighting, and shaders in one development environment. This makes teamwork easier because artists and developers can share project assets.
However, Shader Graph mainly serves Unity projects. Teams that use another game engine may need a different workflow. Large graphs can also become difficult to manage without clear names and organized groups.
Best suited for: Unity developers, technical artists, indie game teams, and artists who prefer visual shader creation.
Pros
- Visual nodes reduce the need for manual shader coding.
- Live previews help users check materials quickly.
- It works directly inside the Unity Editor.
- Custom functions support more advanced effects.
- Reusable graphs help teams maintain consistent materials.
Cons
- It mainly supports Unity projects.
- Some advanced effects require written shader code.
- Render pipeline differences can affect compatibility.
- Large graphs can become difficult to understand.
2. Unreal Engine Material Editor
Unreal Engine Material Editor provides a powerful node-based system for creating materials and visual effects.
It gives artists control over how objects respond to light, shadows, reflections, and surface details.
The editor uses material expressions as building blocks. Users connect these expressions to control material properties. They can adjust base color, roughness, metallic response, transparency, normal details, and other settings.
For example, an artist can create a metal surface by combining color, texture, and reflection controls. A different graph can create a rough stone wall. Another graph can create a glass surface with transparency and reflections.
Unreal Engine also supports material functions. These functions let users save groups of nodes and reuse them in other materials. This helps teams avoid rebuilding the same shader logic again and again.
The editor works closely with Unreal Engine’s rendering features. This makes it useful for game development, virtual production, architectural visualization, and real-time presentations. Artists can see their materials inside actual scenes and adjust them under different lighting conditions.
Technical artists can also use custom HLSL code in supported material workflows. HLSL is a language for writing programs that run on graphics hardware. It gives developers more control when standard material nodes do not provide enough flexibility.
Unreal’s material system can support complex effects. However, beginners may find the large node library difficult at first. They need to understand how material properties interact with lighting and rendering settings.
Performance also matters. A material with too many calculations or expensive texture operations can affect frame rates. Teams should test important materials on their target hardware.
Best suited for: Unreal Engine developers, technical artists, game studios, virtual production teams, and real-time visualization creators.
Pros
- Offers a large library of material expressions.
- Connects directly with Unreal Engine’s rendering system.
- Supports reusable material functions.
- Custom HLSL provides advanced shader control.
- Works well for detailed real-time materials.
Cons
- The large interface can challenge beginners.
- Complex material graphs need careful organization.
- Advanced materials can affect performance.
- Its workflow mainly serves Unreal Engine projects.
3. Adobe Substance 3D Designer
Adobe Substance 3D Designer is a procedural material and texture authoring application.
It helps artists create detailed surfaces through connected nodes instead of painting every detail by hand.
Procedural material creation uses rules and operations to generate textures. Artists can change settings and update the result without rebuilding the entire material. This makes the workflow useful for projects that need many material variations.
Substance 3D Designer provides a node-based graph system. Users can combine patterns, noises, shapes, filters, and image inputs. These nodes help create materials such as wood, stone, metal, fabric, concrete, and ground surfaces.
The software can generate several material maps. These may include base color, roughness, metallic, normal, and height information. Each map controls a different part of the surface appearance.
For example, a wood material may use one graph to create the grain pattern. Other nodes can add color changes and surface depth. The artist can then adjust the grain size or color without starting again.
The software also supports reusable material graphs. Teams can create a material library and use the same materials across different projects. This helps maintain a consistent look across game environments and 3D scenes.
Substance 3D Designer fits well into professional material production. Artists can create assets for game engines and other 3D applications. However, they should check the export settings and target renderer before moving materials between applications.
This tool focuses on procedural materials and textures. It does not replace every feature in a game engine’s shader editor. Users who need custom gameplay shaders may still need Unity Shader Graph, Unreal Material Editor, or a code-based tool.
The learning curve can also be steep. New users need to understand node connections, texture channels, masks, and procedural operations.
Best suited for: Material artists, environment artists, game studios, 3D texture creators, and teams that need reusable procedural materials.
Pros
- Creates detailed procedural materials.
- Node graphs support non-destructive editing.
- Generates several useful material maps.
- Reusable graphs support consistent asset production.
- Offers strong control over surface patterns and details.
Cons
- Beginners may need time to learn the node system.
- It focuses on materials rather than complete game shader logic.
- Complex graphs need careful organization.
- A paid plan may be required.
4. Blender Shader Editor
Blender Shader Editor helps artists create materials for 3D objects and scenes.
It uses a node-based system that connects textures, colors, shaders, and surface settings.
The editor works inside Blender, an open-source 3D creation application. This gives artists access to modeling, sculpting, animation, lighting, materials, and rendering in one place.
Users can create materials by connecting different shader nodes. They can control color, roughness, metallic response, transparency, bump details, and many other properties.
For example, an artist can build a realistic metal material by connecting a base color with metallic and roughness settings. Texture nodes can add scratches and small surface details. The final material can then appear on a model inside a 3D scene.
Blender supports two major rendering workflows: Cycles and Eevee. Cycles uses path tracing to create detailed lighting results. Eevee focuses on real-time rendering and faster feedback.
The Shader Editor supports both creative and technical workflows. Beginners can start with simple materials. Experienced artists can build complex node networks with image textures, procedural patterns, and custom shader setups.
Blender also provides a complete asset workflow. Artists can model an object, create its material, add lights, animate the scene, and render the result without moving between several applications.
This makes Blender useful for product visualization, animation, game asset creation, and visual effects. It also provides a cost-friendly option because the software is free and open-source.
However, Blender materials may not transfer perfectly into other applications. A material created for Cycles or Eevee may need changes before it works in a game engine. Artists should test exported materials in the target environment.
Best suited for: 3D artists, animators, product designers, independent creators, and users who need a complete 3D workflow.
Pros
- Free and open-source software.
- Provides a flexible node-based material editor.
- Works with Cycles and Eevee.
- Combines modeling, animation, and rendering.
- Supports procedural and image-based materials.
Cons
- Material behavior can differ between render engines.
- Exported materials may need adjustments.
- Large node networks can become hard to manage.
- Advanced workflows require knowledge of rendering concepts.
5. Godot VisualShaders
Godot VisualShaders provides a visual shader creation system inside the Godot game engine.
It helps developers create 2D and 3D shader effects through connected nodes.
The visual interface lets users build shaders without writing every instruction manually. Each node performs a specific operation. Users connect the nodes to control colors, textures, lighting, and other shader properties.
Godot VisualShaders can help create animated materials, surface effects, screen effects, and other real-time graphics. Users can preview their work while building the graph.
One useful feature is its connection with Godot’s shader system. Developers can inspect the generated shader code. This can help them understand how visual nodes translate into shader instructions.
The tool can be useful for indie developers who want to create custom effects without setting up an external shader editor. It also keeps shader work inside the same project as scenes, scripts, and game assets.
Godot supports script-based shaders as well. These give developers more direct control over the shader language. Some advanced effects may require written code because the visual editor does not expose every possible operation.
Godot VisualShaders suits projects that use Godot as their main engine. It may not be the right choice for teams working with Unity, Unreal Engine, or custom rendering systems.
Developers should also test shaders on their target devices. A shader that works well on a desktop may need changes for mobile hardware.
Best suited for: Godot developers, indie game creators, beginners learning shader logic, and small development teams.
Pros
- Built into the Godot game engine.
- Visual nodes make shader creation easier to understand.
- Supports 2D and 3D shader workflows.
- Users can inspect generated shader code.
- Keeps shader work inside the game project.
Cons
- Some advanced effects need written shader code.
- The visual editor does not expose every shader feature.
- It mainly serves Godot projects.
- Large graphs require careful organization.
6. Amplify Shader Editor
Amplify Shader Editor is a visual shader authoring extension for Unity.
It provides a node-based workflow for creating materials and effects without writing every shader instruction manually.
The editor gives users a graph interface where they can connect different shader operations. These nodes control surface properties, textures, lighting, colors, and mathematical calculations.
Artists can use the tool to create many types of materials. Examples include animated surfaces, glowing objects, stylized effects, transparent materials, and detailed environmental textures.
Amplify Shader Editor also supports custom nodes and shader functions. These features help technical artists build reusable sections of shader logic. They can use these sections in several materials instead of creating the same graph again.
The tool can help Unity teams that need more control over visual shader creation. It offers another workflow alongside Unity Shader Graph. Some users may prefer its interface or specific features for their projects.
Its visual approach can also help teams share shader work. Artists can inspect node connections and understand how a material works. Developers can then adjust the graph or add custom shader code where needed.
However, Amplify Shader Editor is a third-party extension. Teams should review its current Unity compatibility, supported render pipelines, licensing, and update support before choosing it.
It also requires shader knowledge for advanced work. Visual nodes reduce the amount of manual coding, but they do not remove the need to understand how rendering works.
Best suited for: Unity developers, technical artists, material creators, and teams that prefer a third-party visual shader editor.
Pros
- Provides visual shader creation inside Unity.
- Supports custom nodes and shader functions.
- Helps build reusable material systems.
- Offers control over complex shader effects.
- Provides an alternative to Unity’s built-in graph workflow.
Cons
- Requires a separate purchase.
- Depends on Unity and package compatibility.
- Teams rely on a third-party developer.
- Advanced shader work still requires technical knowledge.
7. Material Maker
Material Maker is an open-source application for creating procedural materials and textures.
It uses node graphs to generate surface patterns and material maps.
The software gives artists a visual way to create textures without painting every detail manually. Users connect nodes that produce shapes, noise, patterns, colors, and surface information.
Material Maker supports physically based rendering materials. PBR is a method that helps surfaces respond to light in a consistent way. It commonly uses maps such as base color, roughness, metallic, normal, and height.
Artists can use these features to create materials for stone, wood, concrete, metal, fabric, and other surfaces. They can also change node settings to produce different versions of a material.
One useful part of Material Maker is its focus on procedural workflows. Users can build a material once and then adjust its inputs. This saves time when a project needs several related textures.
The software also allows users to create custom nodes. They can combine existing nodes or use GLSL code for more advanced operations. This gives technical users more control over their material graphs.
Material Maker can export materials for use in other 3D applications and game engines. However, users should check the export options and target renderer. Different applications may interpret material maps in different ways.
It is a useful option for indie developers and artists who want an open-source material creation workflow. It does not replace a full game engine shader editor, but it can work alongside one.
Best suited for: Indie developers, procedural texture artists, open-source software users, and game teams that need reusable materials.
Pros
- Free and open-source.
- Supports procedural material creation.
- Uses a visual node-based workflow.
- Creates PBR material maps.
- Allows custom nodes and GLSL code.
Cons
- Has a narrower focus than full 3D applications.
- Advanced custom nodes may require coding.
- Exported materials need testing in target engines.
- Complex graphs can require careful management.
8. SHADERed
SHADERed is a free and open-source shader editor for graphics developers.
It helps users write, preview, inspect, and debug shader code.
Unlike visual material editors, SHADERed focuses more on shader programming. Developers can write code and view the output inside the application. This makes it useful for learning graphics programming and testing custom rendering effects.
The tool supports several shader stages. These include vertex, pixel, geometry, and compute shaders, depending on the supported graphics workflow.
A vertex shader controls how 3D points move through the rendering process. A pixel shader controls the final color of pixels. A compute shader performs general calculations on the graphics processor.
SHADERed also provides debugging features. Developers can inspect shader values and investigate problems in the output. This can help them understand why a shader produces an unexpected result.
Its frame analysis tools can help users examine rendering work. The plugin system also allows developers to extend the application for different needs.
SHADERed is useful for people who want to study shader behavior. It can also support small graphics experiments and custom rendering projects.
However, it requires more technical knowledge than a visual node editor. Beginners may need to learn shader languages and graphics concepts before they can use its full feature set.
It is also not a complete material production system for every game engine. Developers may need to adapt their shader code before using it in another application.
Best suited for: Graphics programmers, shader developers, students, and users who need shader debugging tools.
Pros
- Free and open-source.
- Supports shader coding and live previews.
- Includes shader debugging features.
- Offers frame analysis tools.
- Supports plugins and custom workflows.
Cons
- Requires shader programming knowledge.
- Its interface may challenge beginners.
- It is less focused on visual material authoring.
- Developers must check compatibility with their target graphics system.
9. Shadertoy
Shadertoy is a browser-based platform for writing, testing, and sharing shaders.
It gives users a simple way to experiment with GLSL graphics without setting up a full development environment.
Users write shader code in the browser and see the output in real time. This makes it useful for testing ideas, learning shader programming, and creating procedural visual effects.
Shadertoy supports many types of shader experiments. Users can create animated patterns, abstract graphics, fractal images, lighting effects, and other visual designs.
One of its main strengths is its community. Users can explore shaders created by other people and study how they work. They can learn from examples and adapt ideas for their own experiments.
The platform can help beginners understand how shaders work. They can change values, edit code, and see how each change affects the image. Experienced developers can also use it to test mathematical ideas and visual effects.
Shadertoy does not require a full game engine or desktop shader editor. This makes it convenient for quick experiments. However, it does not provide the complete material management and production features that larger projects may need.
Developers may also need to adapt their Shadertoy code before using it in a game engine. Different applications use different shader inputs, output formats, and rendering systems.
Best suited for: Shader learners, GLSL developers, graphics programmers, and artists who create procedural visual experiments.
Pros
- Runs directly in a web browser.
- Makes shader experiments quick and simple.
- Supports real-time visual previews.
- Provides a large collection of community examples.
- Helps users learn GLSL concepts.
Cons
- It is not a full production material editor.
- Browser limits can affect complex projects.
- Shaders may need changes before engine use.
- Large team workflows need additional tools.
10. TouchDesigner
TouchDesigner is a node-based visual development platform for real-time graphics and interactive media.
It helps users connect images, video, sound, data, and shader effects in one visual network.
TouchDesigner is widely suited to interactive installations, live performances, projection mapping, creative displays, and real-time visual projects.
Its GLSL TOP lets users write custom shaders that process images on the graphics processor. GLSL is a shader language used in graphics programming. This gives developers control over how images change and how visual effects appear.
TouchDesigner also supports compute shader workflows for suitable tasks. Compute shaders can perform calculations on the GPU beyond standard image drawing. This can help with certain visual processing and simulation tasks.
Users can connect shader outputs with other TouchDesigner operators. Operators are the building blocks of its node system. They can handle images, video, sound, data, and other forms of input.
For example, a developer can create a visual effect that reacts to music. The shader can change its colors or movement based on audio input. Another project may use live camera footage to create interactive visual effects.
TouchDesigner suits creative technology teams that need real-time interaction. It is different from a traditional game engine material editor. Its main focus is a wider visual system rather than only game materials.
The platform also has a learning curve. Users need to understand its node network and shader coding features to build complex projects. Licensing also depends on the intended use.
Best suited for: Creative technologists, interactive media artists, live visual designers, and teams building real-time installations.
Pros
- Supports real-time visual development.
- Provides GLSL shader tools.
- Connects shader effects with live media and data.
- Supports interactive installations and performances.
- Offers a flexible node-based environment.
Cons
- It is not a direct replacement for game engine material editors.
- The node system takes time to learn.
- Advanced GLSL work requires coding knowledge.
- Licensing depends on project requirements.
Comparison Table: Top 10 Shader Authoring Tools
| Tool | Main Purpose | Authoring Method | Best Suited For |
|---|---|---|---|
| Unity Shader Graph | Game materials and effects | Visual nodes | Unity developers |
| Unreal Engine Material Editor | Real-time materials | Visual nodes and HLSL | Unreal Engine teams |
| Adobe Substance 3D Designer | Procedural textures | Node graphs | Material artists |
| Blender Shader Editor | 3D materials | Visual nodes | 3D artists |
| Godot VisualShaders | Game shaders | Visual nodes | Godot developers |
| Amplify Shader Editor | Unity shader creation | Visual nodes | Unity technical artists |
| Material Maker | Procedural PBR materials | Nodes and GLSL | Indie artists |
| SHADERed | Shader coding and debugging | Code editor | Graphics programmers |
| Shadertoy | Shader experiments | GLSL code | Learners and shader creators |
| TouchDesigner | Interactive real-time graphics | Nodes and GLSL | Creative technologists |
How to Choose the Right Shader Authoring Tool
Choosing a shader tool starts with your project requirements. Think about where the shader will run and who will create it.
1. Check Your Game Engine or 3D Application
Your main software should guide your choice. Unity developers can begin with Shader Graph or Amplify Shader Editor. Unreal developers can use its Material Editor.
Blender users can create materials inside the Shader Editor. Godot developers can use VisualShaders or script-based shaders.
2. Decide Between Visual Nodes and Code
Visual node editors help users build shaders without writing every instruction. They suit artists and developers who prefer a visual workflow.
Code-based editors give programmers more direct control. They suit people who need custom rendering behavior, advanced calculations, or detailed debugging.
Some tools support both approaches. These can work well for teams with artists and graphics programmers.
3. Consider Your Material Requirements
A game may need many surface materials. A film project may need detailed procedural textures. An interactive installation may need effects that react to live data.
Choose a tool that matches the actual output. Substance 3D Designer and Material Maker focus on procedural materials. TouchDesigner focuses on interactive real-time visuals.
4. Check Export and Compatibility
A shader that works in one application may not work in another. Different engines use different shader languages and material systems.
Check how the tool exports materials. Test the result in your target renderer before building a large material library.
5. Think About Performance
Complex shaders can use more graphics processing power. Too many calculations, texture samples, or expensive effects can slow a project.
Test shaders on the devices your audience will use. A desktop result may not reflect performance on mobile hardware.
6. Review Learning Time and Licensing
Some tools are free and open-source. Others require paid licenses or subscriptions.
Also consider the skills your team already has. A powerful tool may not help if the team cannot use it well.
Common Mistakes When Choosing Shader Authoring Tools
Shader tools can save time, but the wrong choice can create extra work. Avoid these common mistakes:
- Ignoring the target renderer: Check whether the tool supports your final rendering system.
- Choosing a tool only for its interface: Check its actual shader features and export options.
- Using visual nodes for every task: Some advanced effects need written shader code.
- Ignoring hardware limits: Test complex materials on target devices.
- Skipping material export tests: Check how textures and shader settings move between applications.
- Building large graphs too early: Start with small, reusable shader groups.
- Overlooking licensing: Review commercial use and team requirements.
- Forgetting team skills: Choose a workflow your artists and developers can maintain.
Questions and Answers About Shader Authoring Tools
1. What are shader authoring tools?
Shader authoring tools help users create, edit, and test shaders. They control how graphics hardware draws surfaces, lighting, colors, and visual effects.
Some tools use visual nodes. Others use code editors or a mix of both.
2. Which shader authoring tool is best for beginners?
Unity Shader Graph and Godot VisualShaders offer visual workflows. Blender Shader Editor also helps beginners learn node-based materials.
Shadertoy can help beginners explore basic shader programming. The best choice depends on the application they want to use.
3. What is the difference between a shader editor and a material editor?
A shader editor helps users create or change shader programs. A material editor helps users control how a surface looks.
Some applications combine both systems. Their exact features depend on the software.
4. Do I need coding skills to create shaders?
No, not for every shader. Visual tools let users build many effects through connected nodes.
However, coding skills help with advanced effects. They also help when a visual editor does not provide a required feature.
5. What is node-based shader authoring?
Node-based shader authoring uses connected blocks to create a shader. Each block performs a task, such as changing a color or combining textures.
Users connect the blocks to build the final material or effect.
6. Which tools support procedural materials?
Adobe Substance 3D Designer and Material Maker focus on procedural material creation. Blender also supports procedural materials through its Shader Editor.
These tools let artists create adjustable textures and surface details.
7. Can I use the same shader in every game engine?
No, not in every case. Game engines use different shader languages, material systems, and rendering features.
You may need to rewrite or adjust a shader before using it in another engine.
8. What is the difference between GLSL and HLSL?
GLSL and HLSL are programming languages used to write GPU shaders.
GLSL is common in OpenGL-based graphics workflows. HLSL is widely used with DirectX and several game development systems.
The right language depends on the target platform and graphics system.
9. Are free shader authoring tools available?
Yes. Blender, Godot, Material Maker, SHADERed, and Shadertoy offer free shader creation or experimentation options.
Some free tools may still require paid software or services for other parts of a production workflow.
10. How can I test a shader before using it in a project?
Start with a small test scene. Check the shader under different lights, surfaces, and viewing angles.
Then test it on the target hardware. This helps reveal visual errors and performance problems early.
Final Thoughts
Shader authoring tools support many kinds of graphics work. Some focus on game materials. Others help artists create procedural textures or programmers write GPU code.
Unity developers can start with Shader Graph. Unreal teams can use the Material Editor. Material artists may prefer Substance 3D Designer or Material Maker.
Blender and Godot offer useful built-in options. SHADERed and Shadertoy help developers write and test shader code. TouchDesigner supports interactive real-time graphics.
Before choosing a tool, create one small shader with it. Test its visual quality, speed, export options, and ease of use. Also check how well it fits your existing software.
The right tool should match your project, your team’s skills, and your final rendering needs. A simple test can help you make that choice with confidence.