Introduction
Screen recordings make hard tasks easier to explain. A short video can show each click, setting, and result. This helps teachers, support teams, software makers, and content creators.
But not every screen recorder serves the same need. Some tools capture a screen and save a video. Others add editing, captions, webcam footage, and quick sharing. A few focus on live production or game recording.
The right choice depends on what you plan to record. You should also think about your computer, sound needs, editing time, and sharing method.
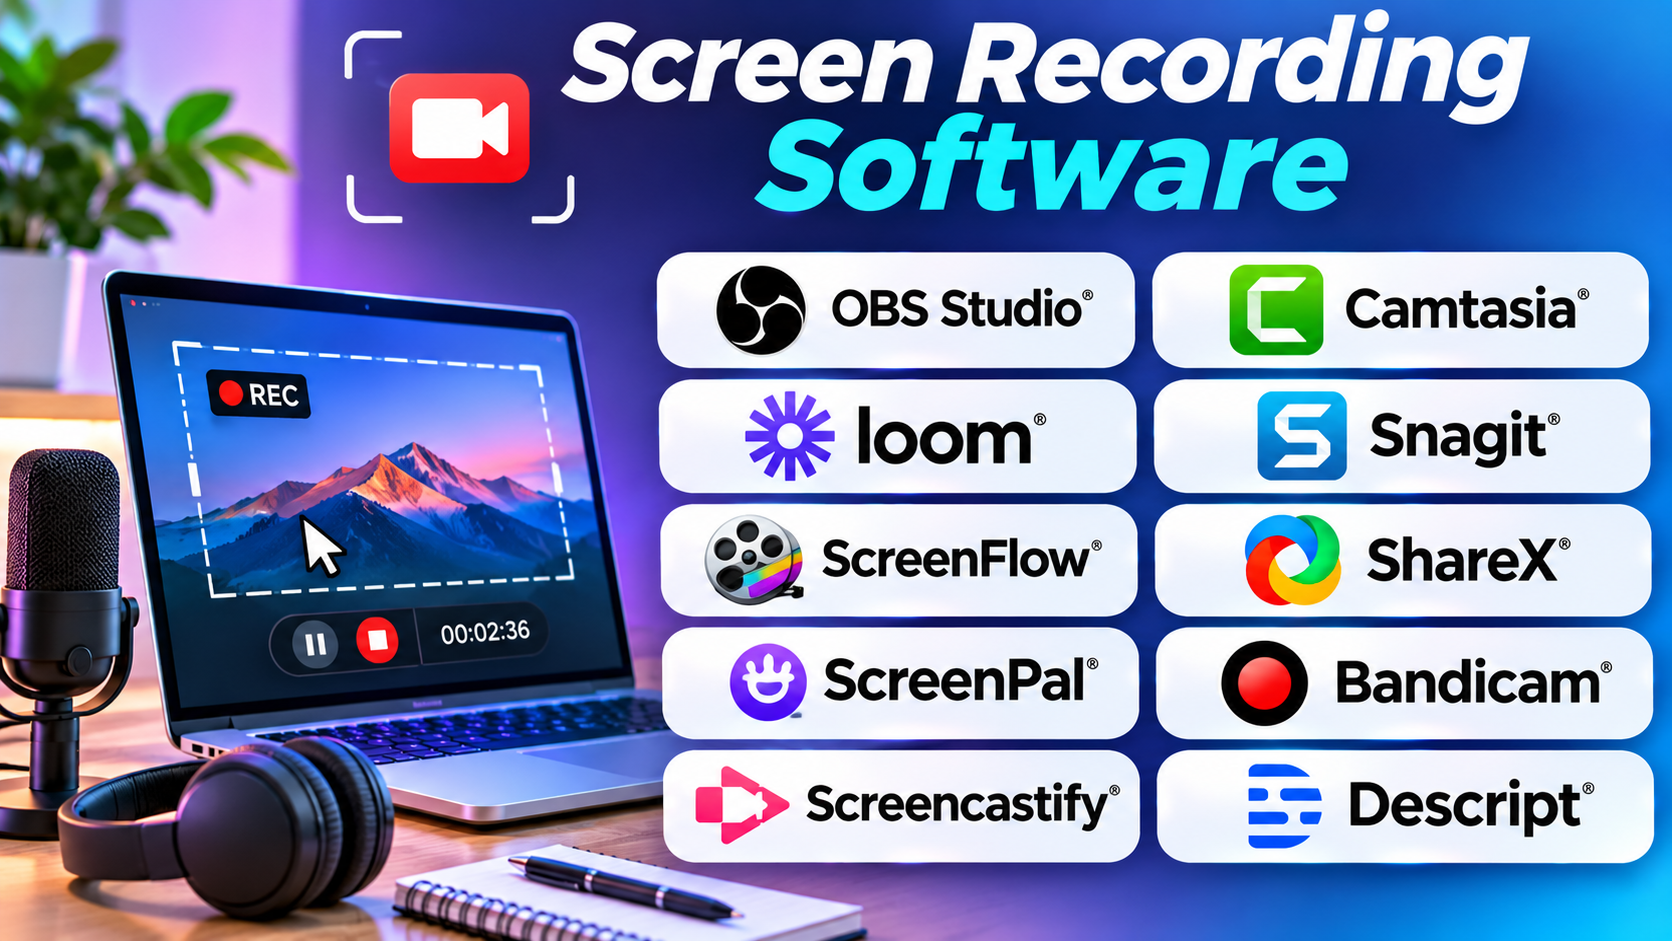
This guide explores 10 screen recording tools. It explains their main uses, key strengths, and trade-offs. It also includes a comparison table and answers to common questions.
What screen recording software does
Screen recording software captures activity on a computer or mobile screen. It saves that activity as a video file or shareable recording.
Most tools let you choose what to capture. You can record the full display, one app window, or a small area. Many also capture your voice, system sound, and webcam.
Some tools focus on editing after recording. They may add captions, arrows, zoom effects, and titles. Others focus on quick sharing or live video production.
Common uses
- Training: Show staff how to use a tool or follow a process.
- Education: Record lessons, slides, and software demos.
- Customer support: Show a problem instead of describing it in long emails.
- Software testing: Record bugs and show the steps that caused them.
- Gaming: Capture gameplay, voice commentary, and webcam footage.
- Business communication: Share short updates and explain work to a team.
- Content creation: Make tutorials, product demos, and online lessons.
Top 10 screen recording tools
1. OBS Studio
Best for: Free recording with detailed control
OBS Studio suits people who want control over how they record. It is free and open-source software. It works on Windows, macOS, and Linux.
OBS uses scenes and sources to build a recording layout. A source can be a display, app window, webcam, image, or audio input. You can combine these sources in one scene. You can also switch between scenes during a recording.
This setup helps creators record more than a simple desktop view. For example, a teacher can show a slide deck, add a webcam view, and capture microphone audio. A game creator can record gameplay with a camera overlay and voice commentary.
OBS also supports live streaming. This makes it useful when you want one tool for both recording and broadcasting. Its audio controls and recording settings offer room for fine adjustments. However, new users may need time to learn the layout and setup process. OBS focuses on capture and streaming rather than full video editing. You may need another editor to add titles, captions, and detailed effects. OBS+1
Pros
- Free and open-source software.
- Supports Windows, macOS, and Linux.
- Combines multiple video and audio sources.
- Offers scene controls for complex recording layouts.
- Supports both local recording and live streaming.
Cons
- Beginners may find the setup confusing.
- The interface has many settings to learn.
- Detailed video editing needs another tool.
- Poor settings can affect recording quality or performance.
2. Camtasia
Best for: Tutorials, training videos, and polished demonstrations
Camtasia brings screen recording and video editing into one workflow. It suits teachers, trainers, software teams, and people who make regular tutorials.
You can record your screen, webcam, microphone, and computer audio. The software can keep these elements on separate tracks. This gives you more control during editing. You can adjust the voice track without changing the screen footage.
Camtasia also records cursor movement and click data. You can use this information to make mouse actions easier to follow. This helps when you explain a complex app or guide viewers through many steps.
Its editor includes a timeline for arranging clips. You can add callouts, arrows, transitions, zoom effects, captions, and other visual elements. These tools help turn a raw recording into a clear lesson.
Camtasia can suit people who want to record and edit in one place. However, it is a commercial product. You should check the plan details before buying. Some features and export options depend on the selected plan. It also offers more editing features than a person needs for quick, simple recordings. TechSmith+2
Pros
- Combines screen recording and video editing.
- Captures screen, webcam, microphone, and system audio.
- Offers a multi-track editing timeline.
- Supports cursor effects, callouts, and captions.
- Works well for training and software tutorials.
Cons
- Paid plans may not suit every budget.
- New editors may need time to learn the timeline.
- Simple recording tasks may not need its full feature set.
- Some features depend on the plan you choose.
3. Loom
Best for: Quick video messages and team updates
Loom focuses on fast screen recording and sharing. It works well when a short video can replace a long email or meeting.
You can record your screen, camera, or both together. This helps when you need to explain a task while showing your face. After recording, Loom creates a video that you can share with others. Viewers can watch it without joining a live call.
This workflow helps remote teams share updates. A team member can record a software issue and send it to a colleague. A manager can explain a new process. A sales team can also use short recordings to explain a product.
Loom places more focus on sharing than on detailed video production. Its simple workflow can save time when you need a quick explanation. But it may not suit creators who want full control over video tracks, effects, and advanced editing.
You should also review its account limits before using it for regular work. Free and paid plans can differ in recording time, storage, and team features. These limits can affect how well it fits a large team. Zapier+1
Pros
- Makes screen and camera recording simple.
- Helps teams share updates without a live meeting.
- Offers a quick recording-to-sharing workflow.
- Suits product demos and support messages.
- Reduces the need to send large video files manually.
Cons
- Advanced editing options are limited.
- Cloud sharing may not suit every privacy need.
- Free plan limits may affect frequent users.
- It offers less control than advanced desktop recorders.
4. Snagit
Best for: Screenshots, visual instructions, and short recordings
Snagit focuses on screen capture and visual communication. It is useful when a screenshot explains something better than a long video.
You can capture a full screen, a selected area, or a scrolling page. Scrolling capture helps when a web page or document extends beyond the visible screen. You can then add text, arrows, shapes, and other notes to the image.
Snagit also records short videos. You can capture screen activity, add webcam footage, and record audio. Its tools let you trim clips and combine recordings. You can also turn a set of images into a video with narration.
The software is useful for support teams, writers, trainers, and office staff. For example, a support worker can capture an error message, hide private details, and add arrows. A trainer can create a short guide with screenshots and a brief voice explanation.
Snagit is not a full video production suite. It works best for quick visual guides and short recordings. People who create long lessons or complex video projects may need a more advanced editor. TechSmith+1
Pros
- Combines screenshots and screen recording.
- Captures scrolling pages and long documents.
- Offers tools for arrows, notes, and image edits.
- Can record webcam video and audio.
- Helps teams create clear visual instructions.
Cons
- Not designed for complex video production.
- Long recordings may need another editor.
- Paid plans add a cost.
- Its wide range of capture tools may take time to explore.
5. ScreenFlow
Best for: Mac users who create edited tutorials
ScreenFlow combines screen capture with a full video editor. It is built for Mac users who need more than a basic recording.
You can record your display, camera, and audio. This helps when you want to show an app while speaking to viewers. You can then bring the footage into its editing timeline.
The editor supports several media layers. You can add images, text, voice-overs, music, callouts, and transitions. You can also use animations to guide attention. These options help creators make polished lessons and product demonstrations.
ScreenFlow also supports iPhone and iPad screen recording. This can help app makers show how their mobile apps work. Teachers can record mobile lessons, while product teams can create app walkthroughs.
Its main trade-off is platform support. ScreenFlow is a Mac-focused product. Windows users will need another option. Its editing tools may also feel excessive if you only need short clips. Before buying, check its system requirements and trial export rules. Tech Specs+2
Pros
- Combines screen capture and video editing.
- Records display, camera, and audio.
- Offers multi-track editing and animation tools.
- Supports iPhone and iPad screen recording.
- Suits detailed tutorials and product demos.
Cons
- Designed for Mac users.
- Paid software may not suit occasional users.
- Advanced editing takes time to learn.
- Simple screen captures do not need all its tools.
6. ShareX
Best for: Free screen capture and custom Windows workflows
ShareX is a free, open-source capture tool for Windows. It combines screenshots, screen recording, file sharing, and other small productivity tasks.
You can capture a full screen, active window, selected region, or scrolling page. It also offers tools for image editing and annotation. This makes it useful for people who often document software problems or create quick guides.
ShareX supports custom workflows. For example, you can set an action to run after you take a screenshot. That action might save the file, copy it, or send it to a chosen destination. This can reduce repeated steps during daily work.
Its recording features make it more than a screenshot tool. You can capture screen activity and use its recording options for short clips. However, ShareX has a different focus from a full video editor. It does not offer the same production workflow as Camtasia or ScreenFlow.
ShareX suits Windows users who value control and automation. New users may need time to understand its many settings. You should also review upload destinations before sending private captures outside your computer. ShareX+1
Pros
- Free and open-source.
- Offers screenshots, screen recording, and GIF capture.
- Supports custom capture workflows.
- Includes image editing and annotation tools.
- Works well for repeat tasks on Windows.
Cons
- Windows-focused.
- The settings can feel complex for beginners.
- It is not a full video editor.
- Upload tasks need careful setup for private files.
7. ScreenPal
Best for: Simple recordings and basic video editing
ScreenPal offers screen recording, webcam capture, and video editing in one workflow. It suits teachers, students, small teams, and people who need to create simple videos.
You can record your screen and add a webcam view. This works well for lessons, presentations, and software demonstrations. After recording, you can make basic edits before sharing the result.
ScreenPal also supports a wider content workflow than a simple recorder. Users can create and edit videos, add narration, and share content. This can help teachers prepare lessons and students submit video work.
Its appeal comes from combining several tasks in one place. You may not need a separate app for every short recording. Still, you should check the plan limits before choosing it. Free plans can place limits on recording length, editing tools, storage, or export options.
ScreenPal is a practical choice for people who want a simple start. It may not offer the deep scene controls of OBS or the advanced editing tools found in larger video suites. Cloudwards+1
Pros
- Combines screen and webcam recording.
- Includes video editing tools.
- Suits lessons and basic tutorials.
- Offers a simple workflow for new users.
- Supports sharing and content creation.
Cons
- Some features depend on the plan.
- Free use may include limits.
- Advanced production needs may require another editor.
- Large projects may need a more powerful tool.
8. Bandicam
Best for: Windows screen and game recording
Bandicam focuses on recording computer screens, games, and external video devices. It is a useful option for Windows users who need different capture modes.
Its screen recording mode captures the full display or a selected area. You can also record around the mouse cursor. This helps when you want viewers to focus on one part of the screen.
Its game recording mode targets games that use supported graphics technologies. It can show frame-rate information while recording. This makes it useful for gaming videos and performance demonstrations.
Bandicam also offers device recording. With compatible hardware, you can capture video from webcams and capture cards. You can add a webcam overlay to show your face while recording a tutorial or game.
The tool offers a focused recording workflow. However, you should check the free version’s limits before using it for long projects. It is also important to check device support and system needs. People who need advanced editing may prefer to pair it with a separate editor. Bandicam+2
Pros
- Offers screen, game, and device recording modes.
- Records full screens and selected areas.
- Supports webcam overlays.
- Includes drawing and cursor tools.
- Suits gameplay and tutorial recording.
Cons
- Free use has recording limits.
- Some device recording needs extra hardware.
- Advanced editing may need another tool.
- Windows users get the strongest fit.
9. Screencastify
Best for: Browser-based recording and classroom work
Screencastify works through a Chrome browser extension. It helps users record browser tabs, the full desktop, or webcam footage.
This makes it useful for teachers and students. A teacher can record a lesson in a browser tab. A student can explain a project with a short video. A support worker can show a browser problem without setting up a complex desktop recorder.
Screencastify also offers a browser-based editor. Users can edit recordings and share them. Its classroom features support video assignments and submissions. Teachers can also use viewer engagement tools and questions to check whether students understood a lesson.
Its browser-first approach makes setup simple for many users. But it may not suit every advanced recording task. People who need complex audio routing, detailed scene control, or long-form video editing may prefer a desktop application.
Check the current account limits and storage choices before using it across a school or team. Screencastify+1
Pros
- Records browser tabs, desktop, and webcam.
- Works through a Chrome extension.
- Includes a browser-based editor.
- Supports classroom video assignments.
- Offers sharing and viewer engagement features.
Cons
- Depends on the Chrome browser workflow.
- Advanced production controls are limited.
- Account limits may affect regular use.
- Not ideal for complex multi-source recordings.
10. Descript
Best for: Screen recordings that need transcript-based editing
Descript combines screen recording with text-based video and audio editing. It suits people who record spoken lessons, product demos, interviews, and explainers.
You can capture your screen and webcam. Descript can then create a transcript from the spoken audio. This transcript becomes part of the editing workflow.
That approach changes how you edit a recording. Instead of working only with a video timeline, you can edit the spoken content through text. Removing a sentence from the transcript can also remove the matching part of the video or audio.
This can save time when you need to cut mistakes or shorten a long explanation. It is especially useful for tutorials with a lot of narration. Descript also offers tools for captions and audio cleanup.
However, text-based editing may not suit every project. A silent software demo may not benefit much from transcription. Users should also review plan limits for recording, transcription, and export needs. descript.com+1
Pros
- Combines screen recording and editing.
- Supports transcript-based editing.
- Helps remove unwanted spoken sections.
- Useful for narrated tutorials and demos.
- Offers tools for captions and audio cleanup.
Cons
- Transcript editing may not suit silent videos.
- Some features depend on plan limits.
- Users need time to learn its editing style.
- It may be more than needed for simple captures.
Screen recording software comparison table
The table below shows where each tool fits best. It also highlights the main difference between them.
| Software | Best use | Main strength | Main drawback |
|---|---|---|---|
| OBS Studio | Advanced recording and streaming | Detailed scene and source control | Takes time to learn |
| Camtasia | Training and tutorials | Recording with a full video editor | Paid plans |
| Loom | Team messages and updates | Fast recording and sharing | Limited advanced editing |
| Snagit | Screenshots and short videos | Strong image capture and notes | Not for complex video projects |
| ScreenFlow | Mac tutorials and demos | Multi-track editing | Mac-focused |
| ShareX | Windows capture tasks | Free tools and custom workflows | Not a full video editor |
| ScreenPal | Lessons and simple videos | Recording and basic editing | Some limits depend on the plan |
| Bandicam | Game and desktop recording | Different recording modes | Free version has limits |
| Screencastify | Browser and classroom recording | Chrome-based capture and sharing | Limited advanced controls |
| Descript | Narrated screen videos | Text-based video editing | Less useful for silent demos |
How to choose the right screen recorder
The best tool depends on your daily work. Start with the result you want to create. Then choose a recorder that supports that workflow.
For free screen recording
Start with OBS Studio or ShareX.
OBS Studio suits users who need detailed control. It supports several capture sources and live streaming. ShareX suits Windows users who want screenshots, short recordings, and custom tasks.
Choose OBS if you plan to create longer videos. Choose ShareX if you often capture and share quick visual details.
For professional tutorials
Consider Camtasia or ScreenFlow.
Camtasia works well for users who want recording and editing together. It offers tools for captions, cursor effects, and visual notes.
ScreenFlow offers a similar workflow for Mac users. It also supports multi-track editing and mobile device recording.
For quick team communication
Loom can help when speed matters more than advanced editing. You can record a screen with your camera and share the result.
This works well for short updates, feedback, and software explanations. It can also reduce the need for some routine meetings.
For classroom lessons
Screencastify and ScreenPal are worth considering.
Screencastify offers browser-based recording and classroom tools. ScreenPal combines recording with basic editing and sharing.
Teachers should check how each tool handles student access, storage, and privacy. Schools should also review account controls before wider use.
For gaming videos
Bandicam and OBS Studio offer different approaches.
Bandicam has a dedicated game recording mode. OBS Studio offers scene control and a flexible setup for recording gameplay with other sources.
Choose based on your game, computer hardware, audio setup, and editing needs.
For spoken tutorials
Descript can help when you need to edit spoken content. Its transcript-based workflow can make it easier to remove mistakes and shorten explanations.
Camtasia is another option when you want more control over the visual parts of a tutorial.
Important features to check before you choose
A long feature list does not always mean a better tool. Focus on the features that affect your work.
1. Capture options
Check whether the tool records a full screen, one window, or a selected area. Some tasks need only a browser tab. Others need several monitors or apps.
2. Audio recording
Check whether the software captures your microphone and computer sound. Some projects need both. Others need only voice narration.
Also check whether you can control audio levels. Poor sound can make a clear video hard to follow.
3. Webcam support
A webcam can make a lesson or presentation feel more personal. Check whether the tool can place your camera view over the screen recording.
You should also check whether you can move or resize the camera view.
4. Video editing
Some tools only record and save video files. Others include trimming, captions, titles, transitions, and effects.
Choose an editor based on the work you plan to do. A short support clip may need only basic trimming. A training course may need a full timeline editor.
5. Export quality and file types
Check the video formats and quality settings. Your chosen format should work with your video platform or learning system.
Also check file size. High-quality recordings can use a lot of storage.
6. Sharing and storage
Some tools save recordings on your computer. Others upload videos to an online account.
Local files give you more direct control over storage. Online sharing can make team access easier. Review access settings before sharing private information.
7. Privacy and security
Screen recordings can show private messages, customer details, or company data. Close private apps before recording.
Use blur or redaction tools when needed. Check who can view shared videos. Also review your company’s rules before recording meetings or customer information.
8. Computer performance
Screen recording uses system resources. High-resolution video and several capture sources can place more demand on your computer.
Test the software with your usual apps. Check video quality, sound, and system performance before making a long recording.
Common screen recording mistakes
Even good software cannot fix a poor recording setup. Avoid these common problems.
- Recording too much: Capture only the screen area that viewers need.
- Ignoring sound: Test your microphone before starting.
- Showing private details: Close private apps and hide sensitive information.
- Using tiny text: Increase the app zoom when viewers need to read small details.
- Skipping a test recording: Record a short sample before a long session.
- Forgetting storage space: Check free disk space before recording.
- Using the wrong file format: Confirm that your video works on the target platform.
- Adding too many effects: Use zooms and highlights only when they help explain a step.
- Sharing without checking access: Make sure only the right people can view the video.
- Skipping captions: Add captions when they help viewers follow the lesson.
Questions and Answers
1. What is screen recording software?
Screen recording software captures activity on a computer or mobile display. It saves that activity as a video. Many tools also record voice, system sound, and webcam footage.
2. Which screen recording software is free?
OBS Studio and ShareX are free options. OBS Studio is open source and supports several desktop systems. ShareX is a free, open-source capture tool for Windows.
3. Which tool is best for recording tutorials?
Camtasia and ScreenFlow are strong options for edited tutorials. Both combine screen recording with video editing. Mac users can consider ScreenFlow, while Camtasia supports Windows and Mac workflows.
4. Can I record my screen and webcam at the same time?
Yes. Several tools support screen and webcam recording together. OBS Studio, Camtasia, Loom, ScreenFlow, and Bandicam offer workflows for this purpose.
5. Can screen recording software capture computer audio?
Many tools can capture system audio. However, support can depend on the operating system and recording setup. Test the sound before starting an important recording.
6. Is screen recording software useful for online teaching?
Yes. Teachers can record lessons, explain slides, and show software steps. Tools such as Screencastify, ScreenPal, and Camtasia can support these tasks.
7. Which screen recorder works well for gaming?
OBS Studio and Bandicam are useful options for gaming. OBS offers scene and audio control. Bandicam includes a dedicated game recording mode.
8. Can I edit a screen recording after I finish?
Yes. Some tools include built-in editors. Camtasia, ScreenFlow, ScreenPal, and Descript offer editing features. You can also use a separate video editor.
9. Does screen recording software affect computer performance?
It can. Recording uses system resources, especially at high resolutions or with several video sources. Close unused apps and test your settings before recording a long session.
10. What should I check before sharing a screen recording?
Check the video for private information, errors, and unwanted background noise. Confirm that the sound is clear. Also check the sharing settings so only the right people can view it.
Final Thoughts
Screen recording software can make teaching, support, and teamwork easier. But the right tool depends on the type of video you want to create.
OBS Studio and ShareX suit users who want free capture tools. Camtasia and ScreenFlow offer stronger editing workflows. Loom helps teams share quick updates. Snagit works well for screenshots and short guides. Bandicam suits game recording, while Screencastify supports browser-based lessons. ScreenPal and Descript offer useful options for edited learning and spoken content.
Before you choose, make a short test recording. Check the picture, sound, file size, and editing process. Also review the plan limits and privacy settings.
A good screen recorder should make your work easier. Choose one that fits your tasks instead of paying for features you will rarely use.